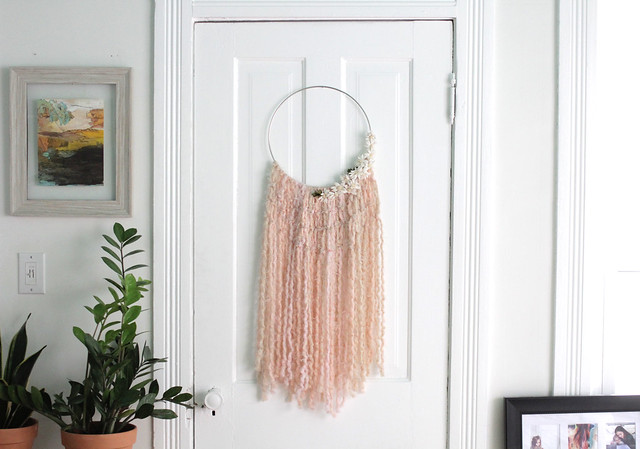
My Crafty Babes group just celebrated a year of gatherings! To refresh your memory: we started out as a beginner's knitting group. (Also, holy cow! Check out those bare walls!) To make it more inclusive, I switched gears a little and turned it into a general craft group. The whole goal is to build community here in Springfield, and I definitely feel like that's happening! I adore bringing people together and I've met so many rad local ladies!
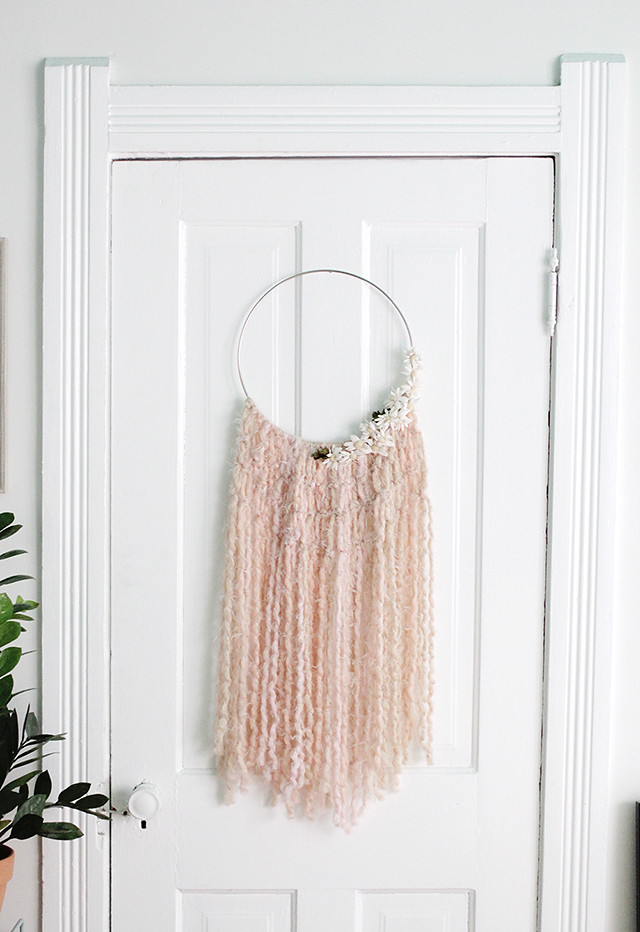
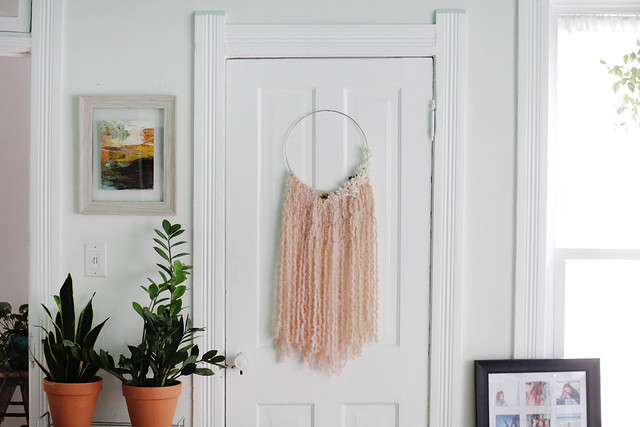
Anyway, a couple of weeks ago we made these pretty wall hangings at one of our gatherings. It's SO easy and I thought you guys might like a peek at how it's made!
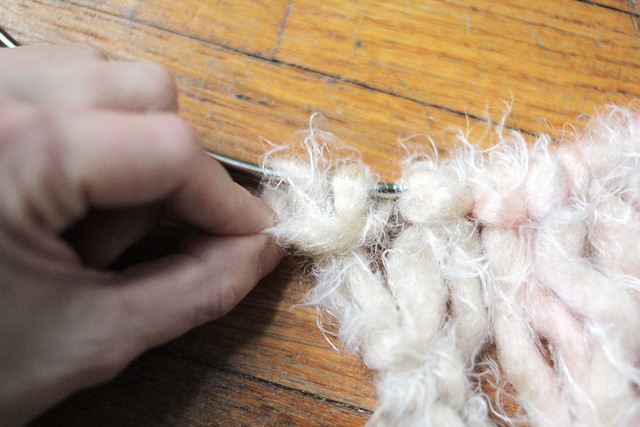
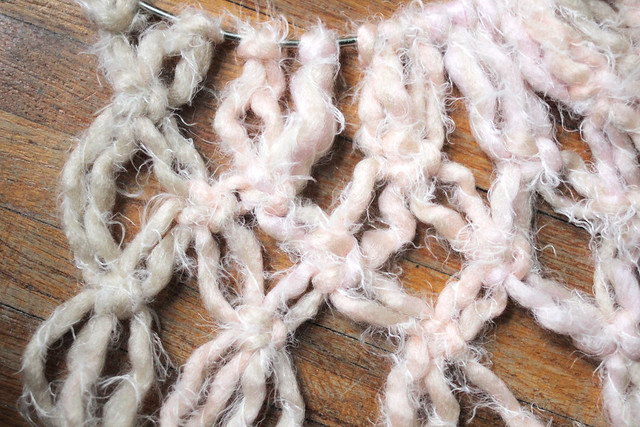
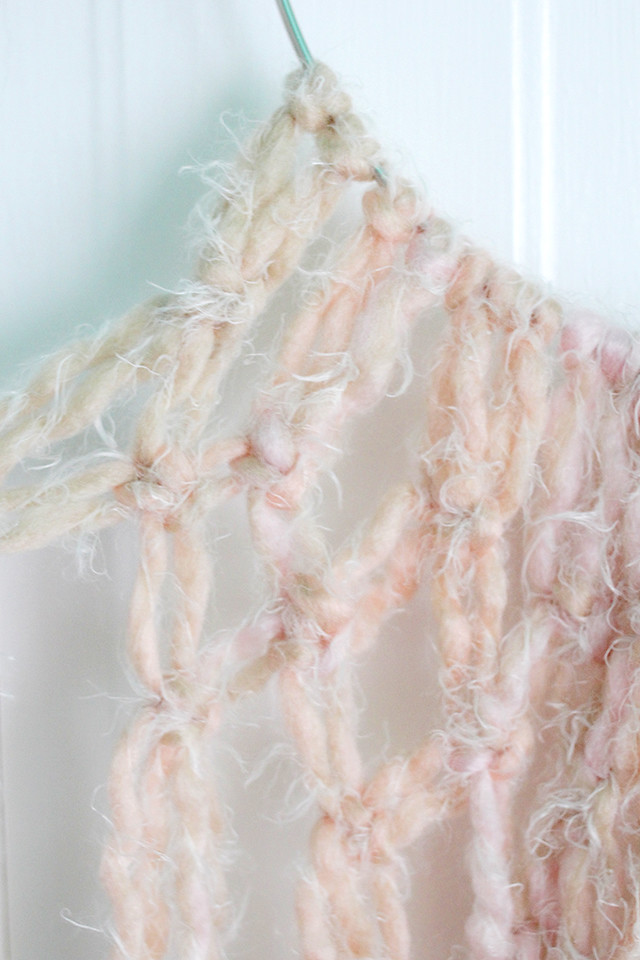
There are so many different ways to customize this, so let's just stick to what I did for this one. Grab a metal hoop and some pretty yarn from the craft store. *I actually snagged this yarn from Michaels over a year ago. It was on sale and too lovely to pass up!* Cut lengths of yarn twice as long as you want them to hang. Fold the middle section of the yarn over the hoop and pass the ends through. This is called a larkshead knot. Then repeat, repeat, repeat!
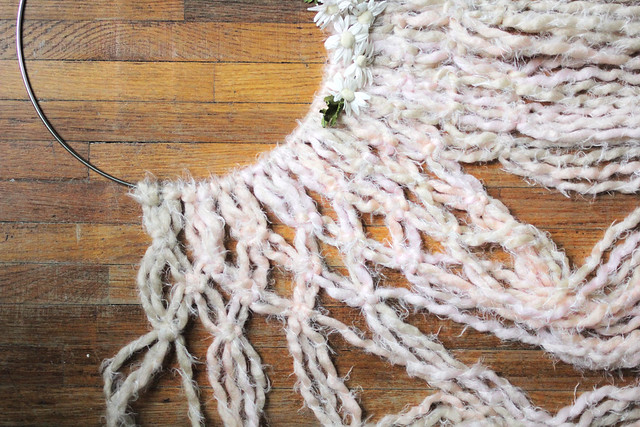
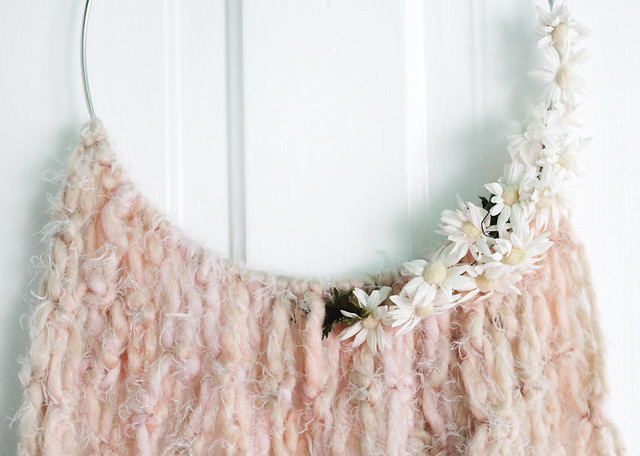
I wanted a little extra texture to mine, so I added some square knots in the upper area. They aren't as noticeable with the yarn as they would be with string or rope-- it's just a nice bit of texture. I finished mine off with some vintage millinery flowers I had laying around. See? So easy.
We're getting together tonight to learn to make beautiful fabric flowers! I can't wait to show you how it goes! Happy crafting, friends!


This is so pretty and you're right - so easy!! Might need to make one myself. ;)
ReplyDeletewww.wonderlandsam.com
This turned out so beautifully! I love the color you chose!
ReplyDeletethis is beautiful, I will definitely try this. Thank you for sharing
ReplyDelete