Friday, October 28
"If I Can" (Poesy in a Music Video)
Remember when I mentioned that Poesy was going to be in our drummer's video? Well, Ivy's band, LUX, released their music video today! Poesy's pretty sure that this is HER video and she is the STAR. :D
I'm super proud of Jake and Ivy and all of their hard work. You can check out their new album right here. xo.
Video by Film Appeal
Tuesday, October 25
The Most Beautiful Day for Carving Pumpkins
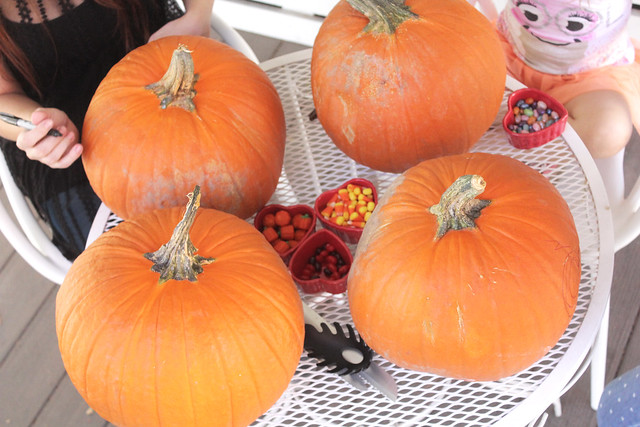
Johnny and I took Saturday and Sunday off last weekend because Hope had a gymnastics meet (1st place all-around! Woohoo!) and we needed some good old fashioned Fall family time. We kept ourselves so busy last year that we totally missed the apple orchard AND the pumpkin patch. NEVER AGAIN! Sunday we went and snagged pumpkins and carved them on the most gorgeous afternoon. It was one of those times in your life where you step back, look around, and the gratefulness just pours out of you.
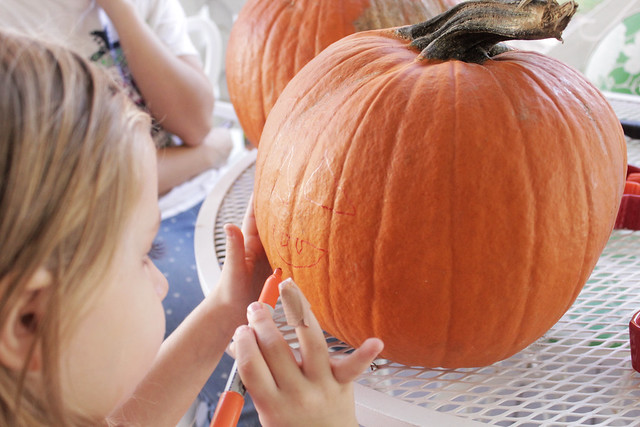
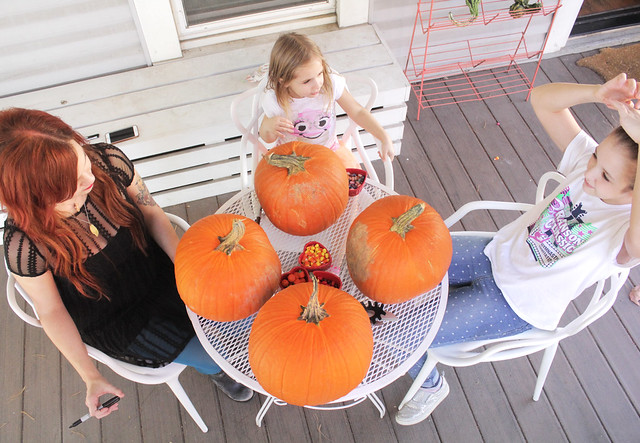
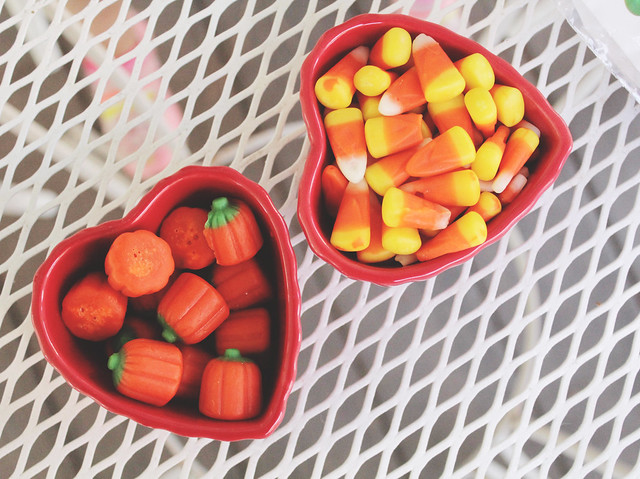
This perfect weather and these Fall feelings can stick around for as long as they'd like! No complaints over here. :)
Happy Tuesday, friends!
Friday, October 21
DIY Emoji Costume
As promised, here's a tutorial for how I made Hope's emoji costume. We were moving houses the weekend of Halloween last year (terrible timing for a DIY mother) and I was still wrapping this thing up as the sun was going down ON Halloween. We made it in time for trick-or-treating, though, so all was good!
Supplies:
*yellow fleece or felt
*red and black felt
*elastic
*stuffing (polyfil)
*scissors, pins, sewing machine
*craft glue (optional)
To begin, cut four matching circles from your yellow fleece or felt. These can be whatever size you want, depending on who you're making it for. When it came to Hope's costume, we decided bigger was better!
Now, set side three of the circles and cut your emoji face from the felt. Obviously you can switch this up and make whatever emoji face you prefer, but we're a heart eyes family over here.
Once you have the eyes and mouth cut, either pin them in place or use a bit of tacky/craft glue to secure. Take it to the sewing machine and sew it all in place. **You'll see I used contrasting thread in the steps as we go, I would definitely recommend matching your thread color to your felt color for a more polished look!
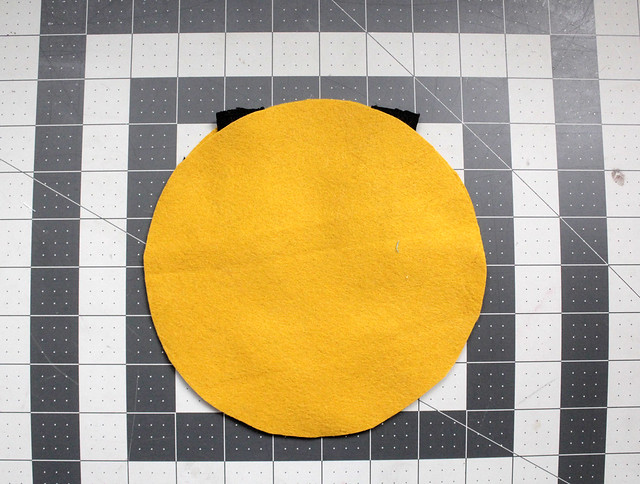
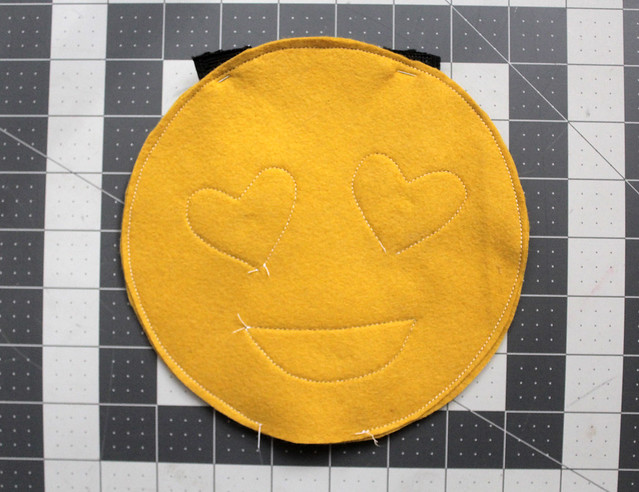 Once your eyes and mouth are secure, pin the elastic to the front of the face as shown above. Lay a second felt circle on top of that and sew all the way around, leaving a hole at the bottom big enough for your hand.
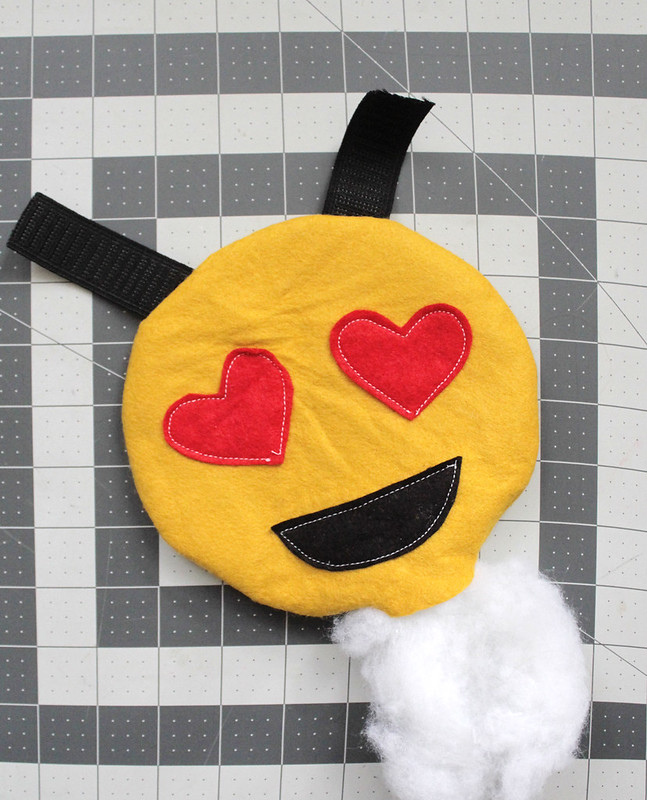
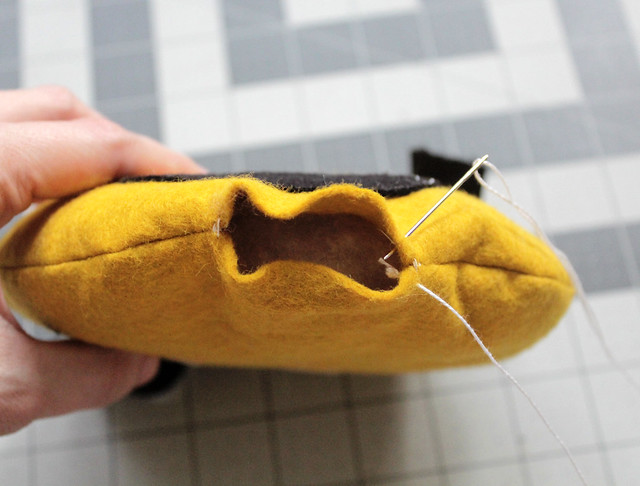 When you've finished stitching most of the way around, flip it right-side out and fill with stuffing. Ladder stitch the opening closed by hand. There! You have your first half finished!
For the back half, sandwich your circles like we did on the first one, leaving a hole the same way in the bottom. Flip right-side out and stuff.
Now for the part that's a little different than our first one. Pin the elastic into the opening as shown above. Do a very tight ladder stitch by hand to fasten the opening closed. Take your time with this part because you want it to be very secure so it doesn't rip out when it's being worn.
Once you've finished hand-stitching, you're all done! It should look something like this:

There you have it-- a big, squishy emoji you can wear! The nice part about this costume is that after you are done with it, you can easily remove the elastic and sew it into an over-sized pillow!
This costume was a big hit with all the trick-or-treaters last year. Now, somehow I have to outdo myself again this year and whip up a spectacular costume for Hope-- I just need her to decide what that will be! Wish me luck!
Thursday, October 20
DIY Halloween Costume Round-Up
Since I didn't quite make it to the family Halloween costumes again this year, I figured a roundup of some of my favorite DIY costumes was in order!
Remember these Goldilocks and the Three Bears costumes? This was right when we had first moved to Springfield and I was working part time in the ABM studio. They're one of my prouder DIYs. :)
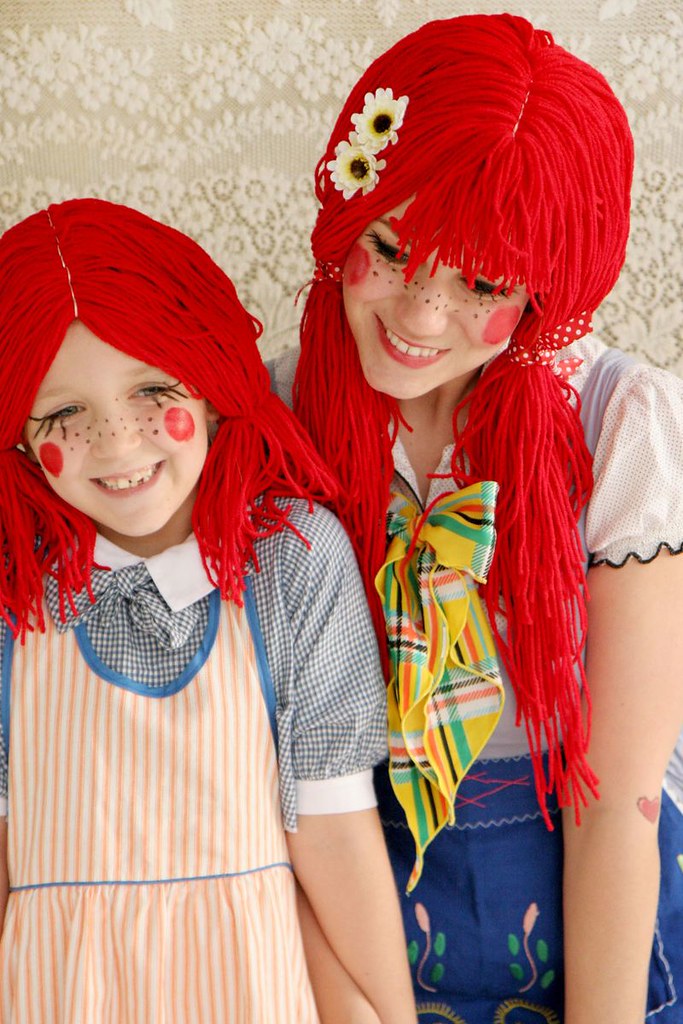
These Ragdoll costumes were from a time before there was even a Poesy. What?! I love costumes were you can raid your closet or the dress up box, throw in a little DIY element, and make it your own!
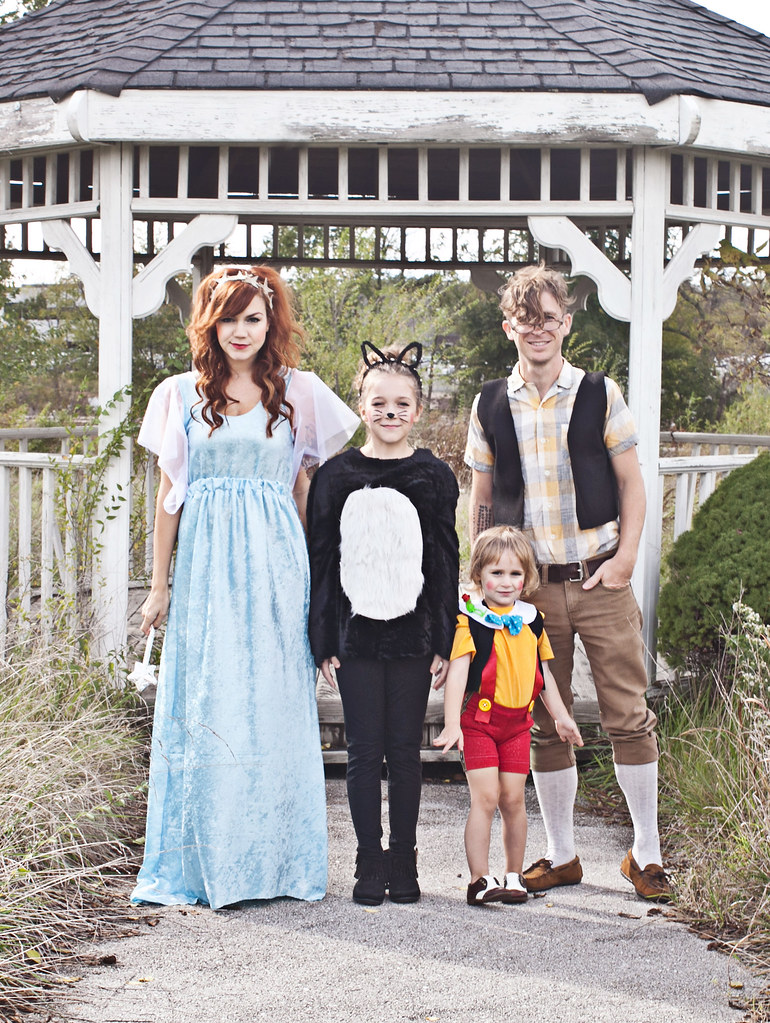
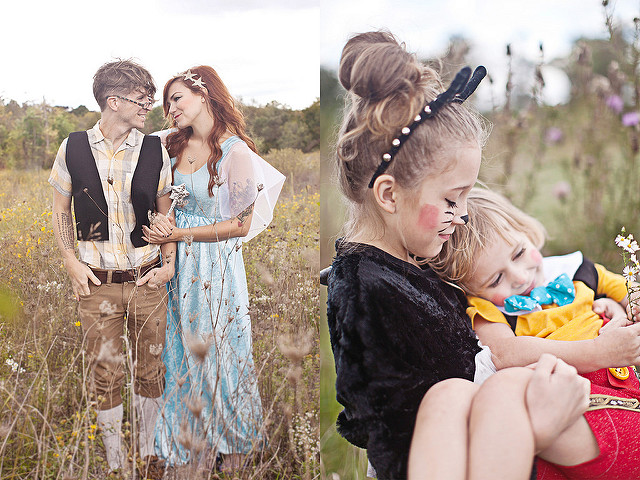
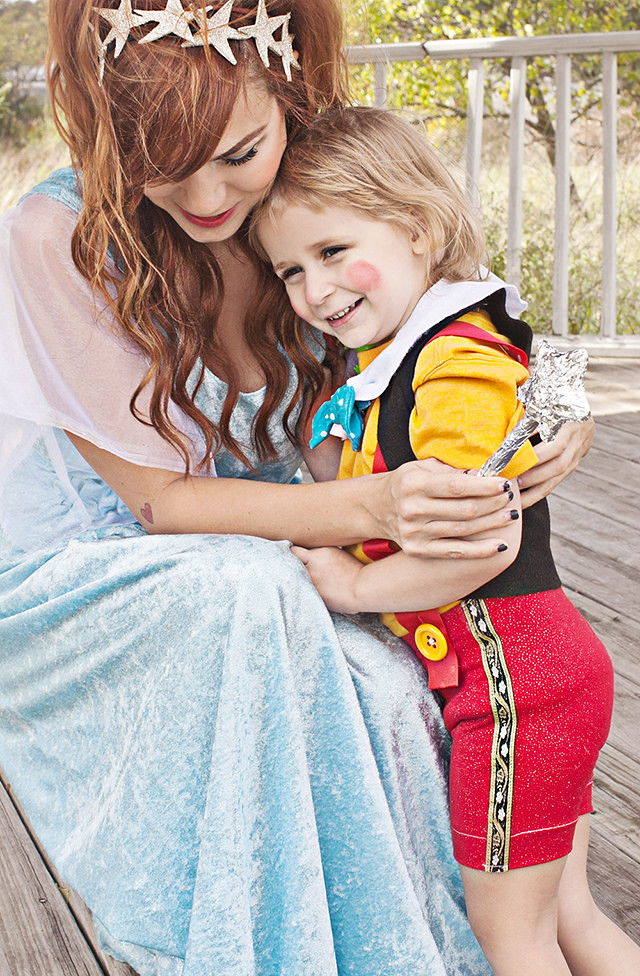
This family Pinocchio themed costume was probably my most involved. I made my own dress, Hope's Figaro outfit and headband, Poesy's Pinocchio get-up, and Johnny's vest. I really loved this family costume. I'm so glad we have these beautiful photos to remember it... and the year Poesy chopped off all her hair and was the absolute BEST Pinocchio. :D
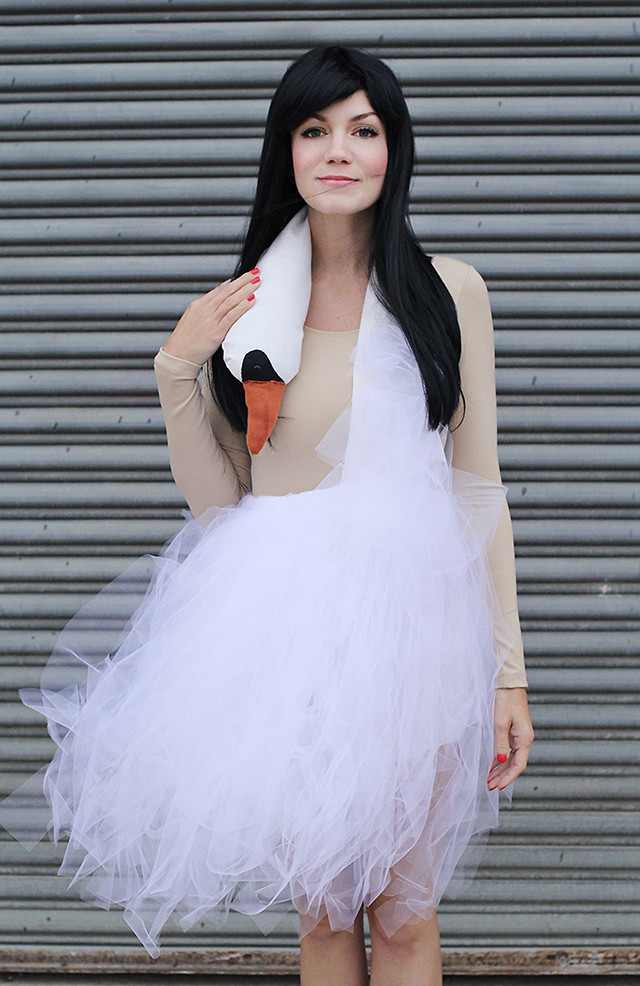
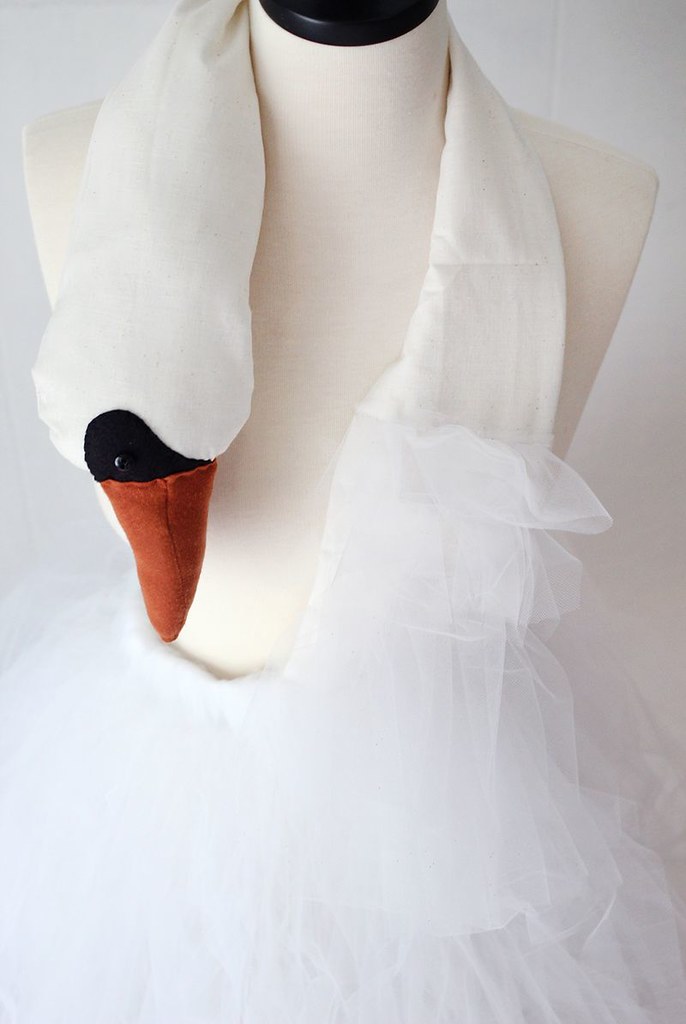
Oh, the Bjork swan dress... another one of my favorites! I made this specifically for a friend's elaborate Halloween party and it sure was a hit. I still have this one hanging in my closet!
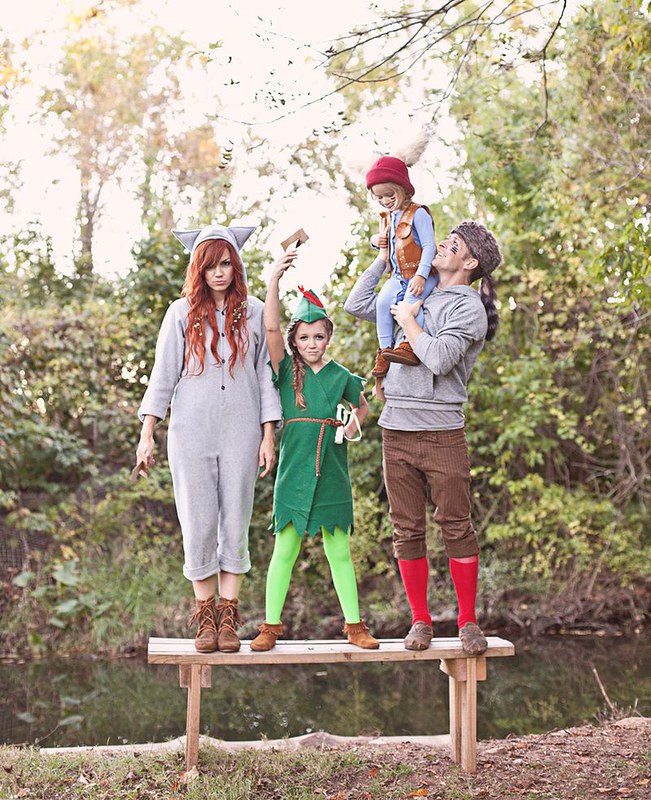
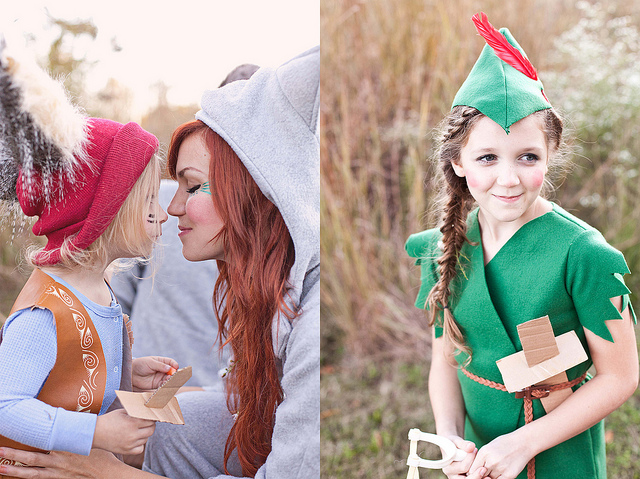
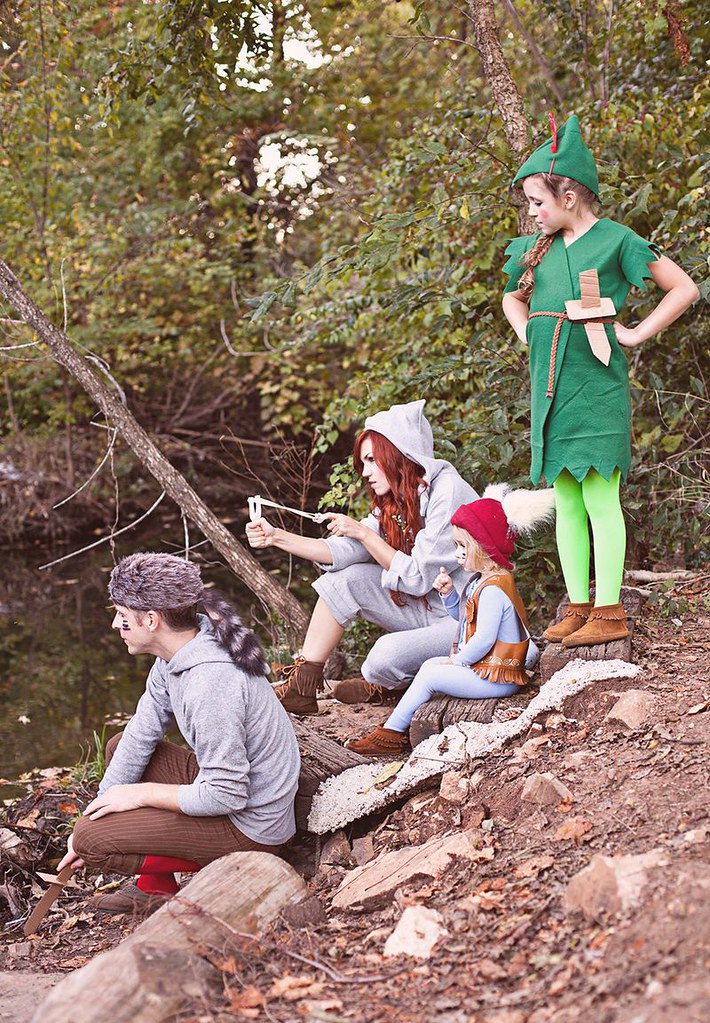
Last but not least, our Peter Pan and the Lost Boys costumes! These were SO fun and pretty simple to pull together. This was the first year I asked Johnny to REALLY dress up with us and it was perfect! (I'm not really counting putting on a giant paper maché mask-- he let me put makeup on him and everything. The boy looks good in mascara. What can I say?)
I have more DIY costumes here, here, here, and here from over the years if you need some more dressing-up inspiration. I'm in the process of working on a written DIY for the emoji costume for all of you moms who have emailed me about it! For now, I'm off to sew!
P.S. I can't wait until you see what Poesy has chosen for Halloween this year. It's going to be amazing!
Wednesday, October 12
Our Dining Room
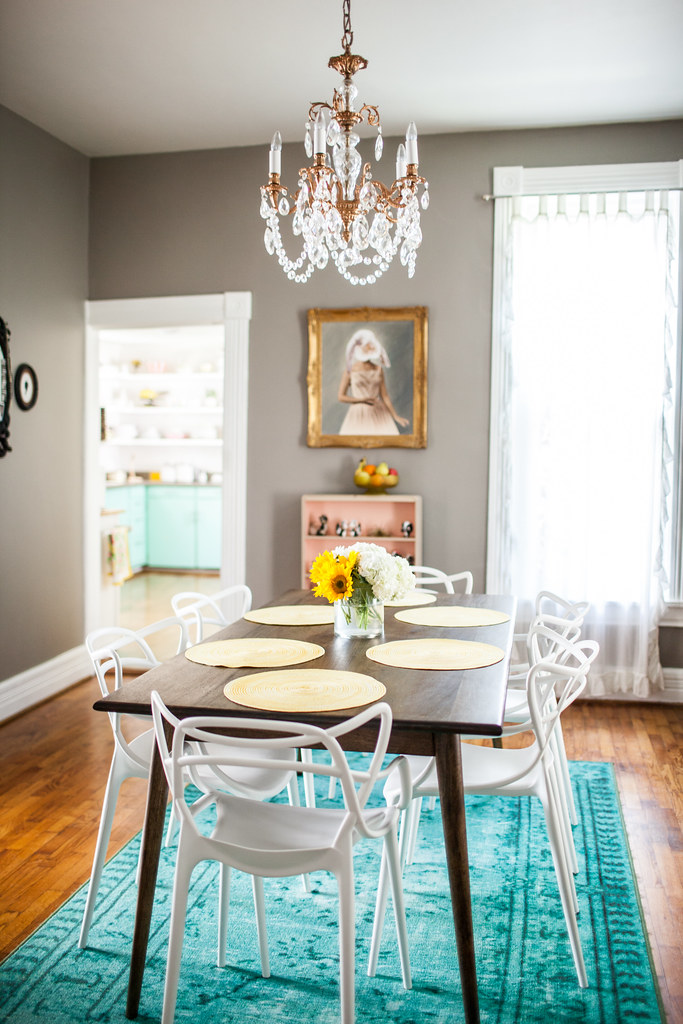
I had the best weekend ever hosting the weaving workshop with Rachel! I plan to show you tons of pictures from the event, but first I thought I'd show you the dining room before the chaos of yarn and snacks and lovely ladies. This space was one of the first to come together in our home. I knew I wanted a cozy dining room to host dinners with friends, but also a space for our family to have ice cream parties and game nights! Here's a peek at where I (basically) started:
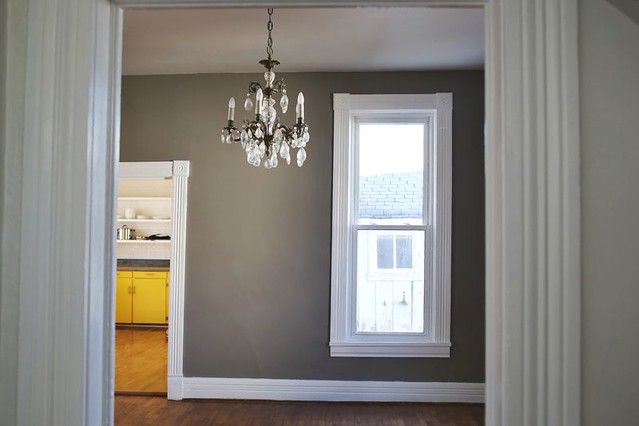
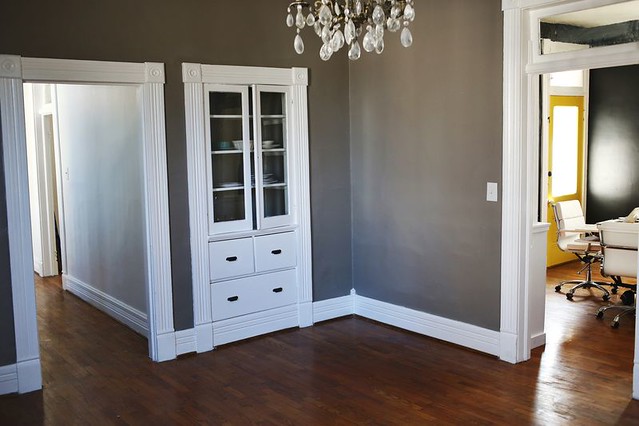
As you can see, I didn't have to do much to this room other than add furniture and art. I liked the color on the walls and the fancy chandelier that Laura made fancier, so after all of the boxes were out of here, it was time to decorate!
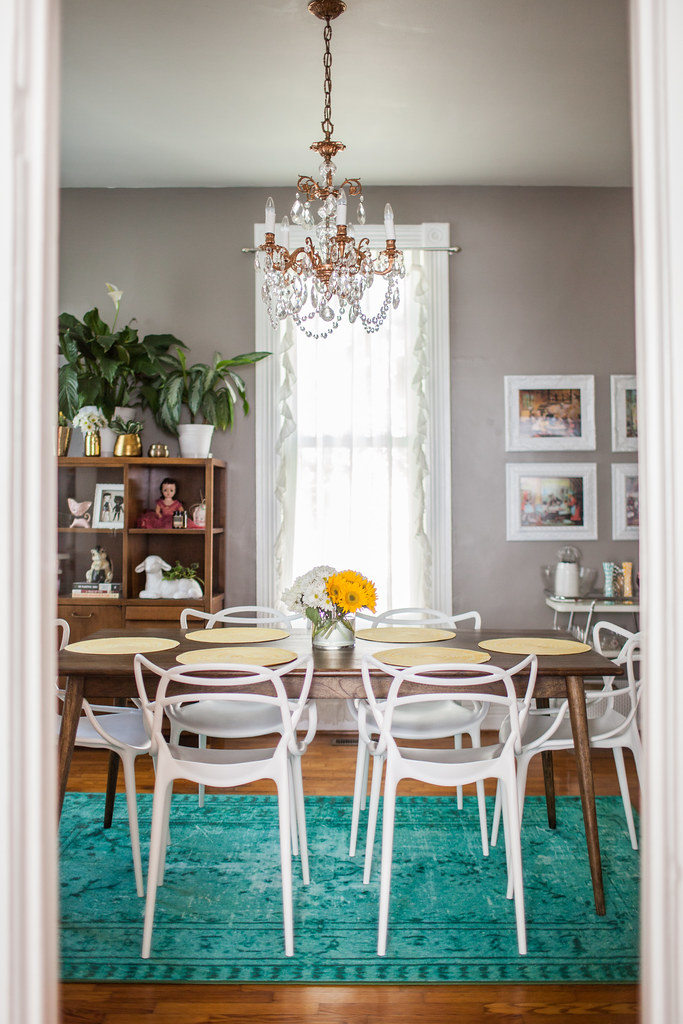
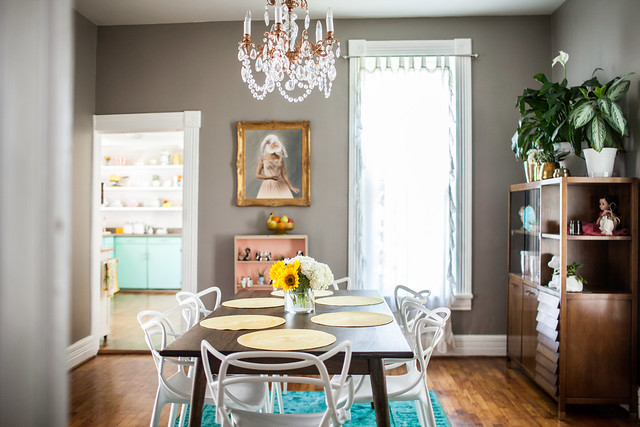
I knew I wanted to get a larger table and set of chairs-- something that would fit the size and vibe of this room a little more than our last set. That's when Craigslist is the handiest. Your old stuff goes to a new home and you can use that money for things that work better in your space.
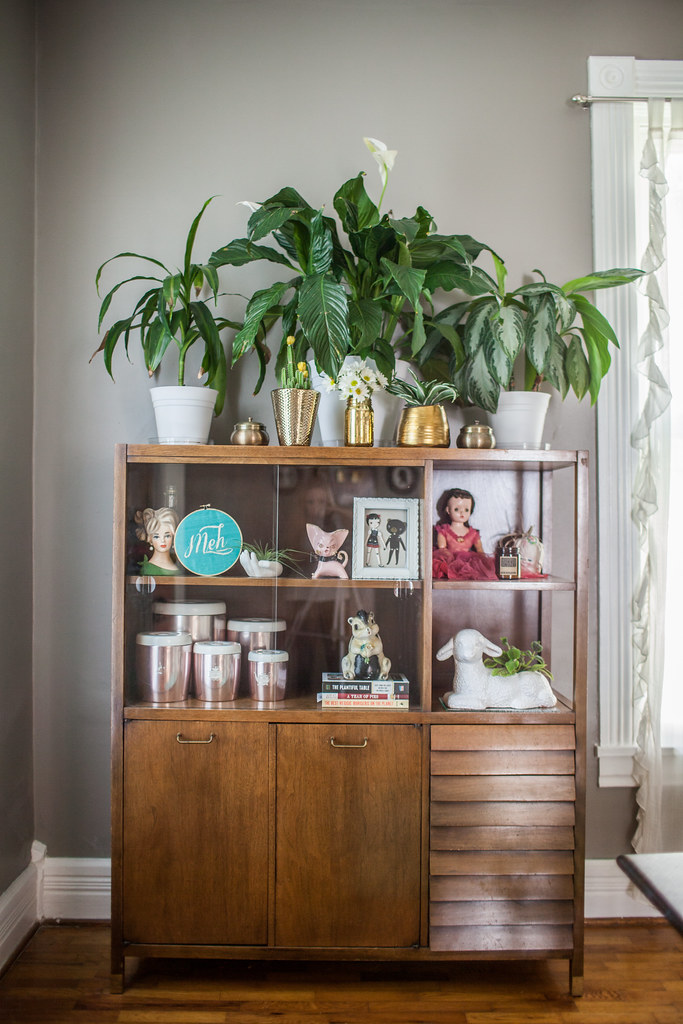
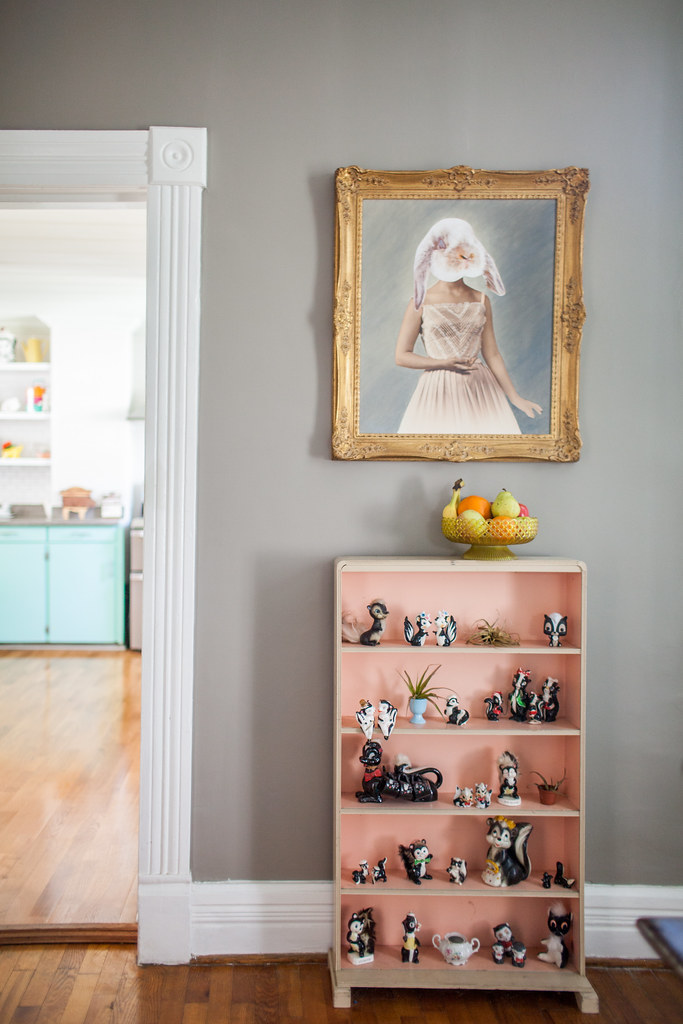
You can see we have the white built-in cabinets, but I needed a little more storage for extra appliances, flatware, etc. I found the wooden hutch at a local flea market/antique store and it has been a great addition! The pink cabinet I snagged when the old Red Velvet shop was closing down a couple of years ago. It's perfect for my ever-growing skunk collection!
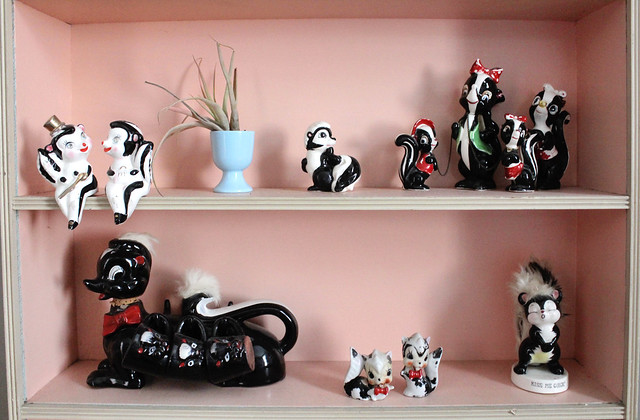
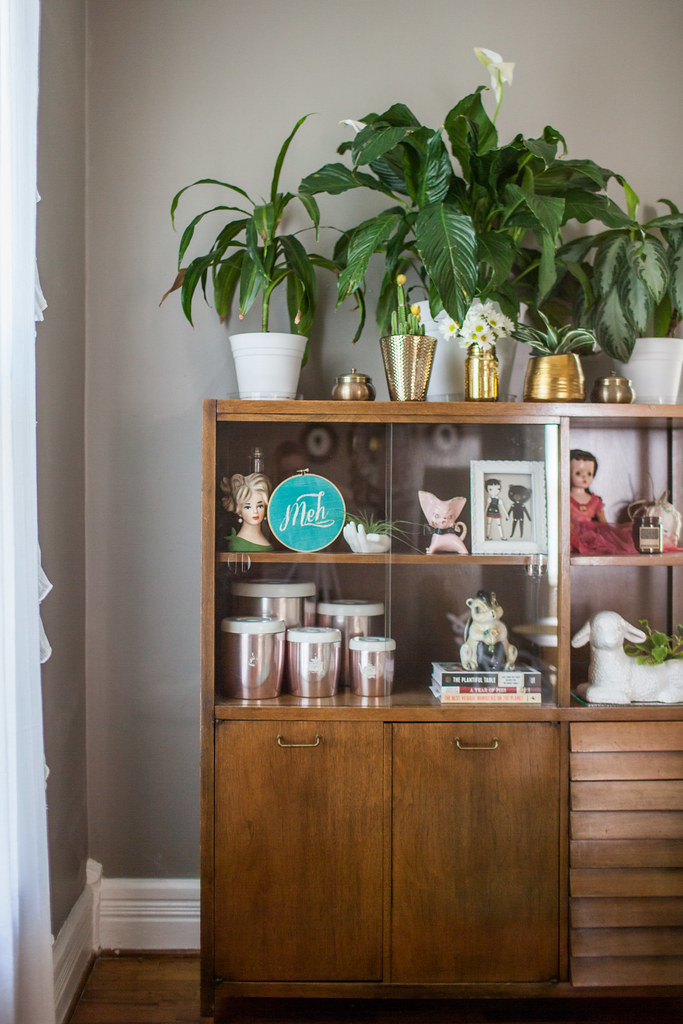
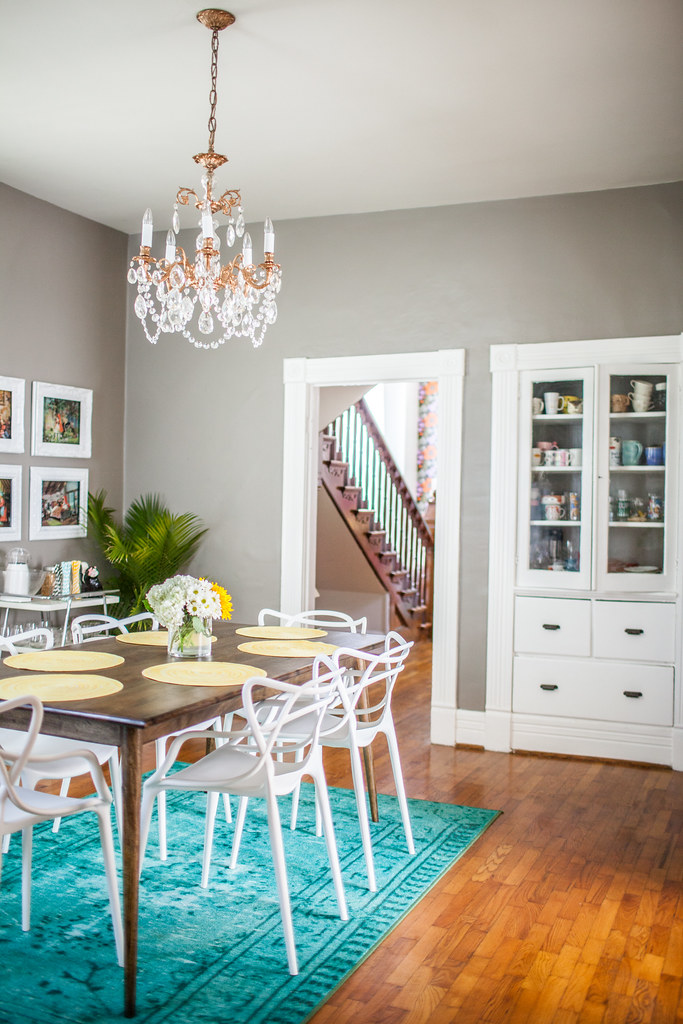
Photos by Elise Abigail Randolph
I adore this space in our home and it was perfect for hosting the craft gatherings this weekend! I hope to do more in the future. Bring on the dinner parties and fun gatherings!
Sources-- table: Amazon; chairs: Amazon; rug: Rugs USA; hutch: Funtiques at Green Gallery; bunny painting: thrifted/diy; "Meh" embroidered hoop art: Cookoorikoo; Most anything else was likely thrifted or given as gifts. Feel free to ask about anything!

