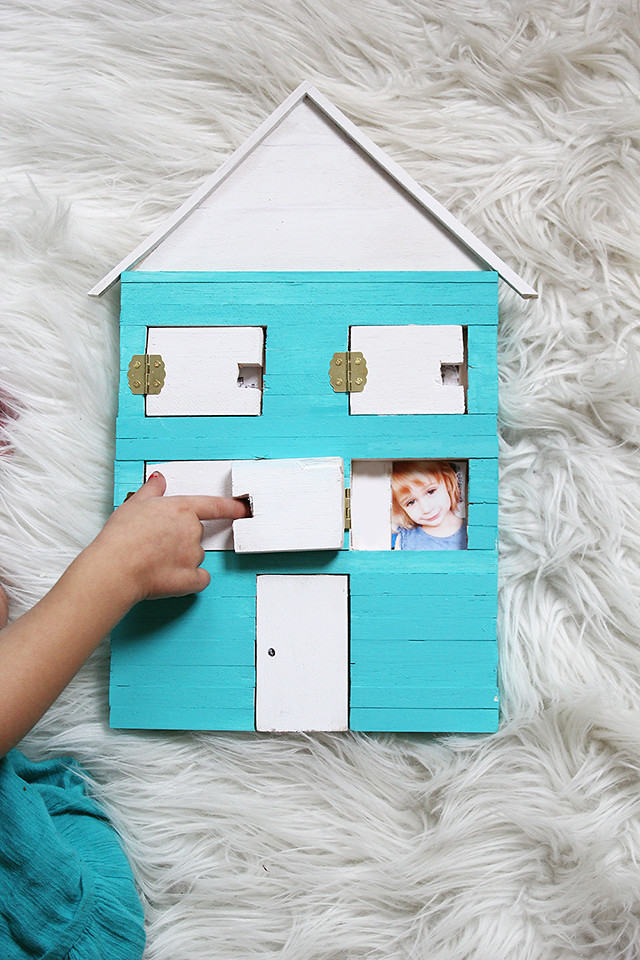
 We have some long-distance family with a little one, and I've been wanting to do something for her so that she remembers us the next time we come to visit. It's hard with younger kids-- it's almost like you have to regain their trust every time you see them. I thought about doing one of those books with names and faces, but decided to go with something more play-able. I'm working with Canon USA on a project today to show you how to make your own wooden memory house!
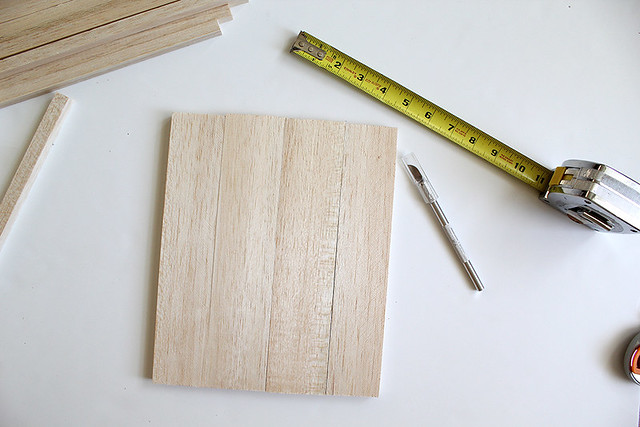
First things first: supplies. For this project, you will need various sizes of balsa wood (you can purchase at most local craft stores), an X-acto knife, tape measure, small hinges, and wood glue. Paint is optional.
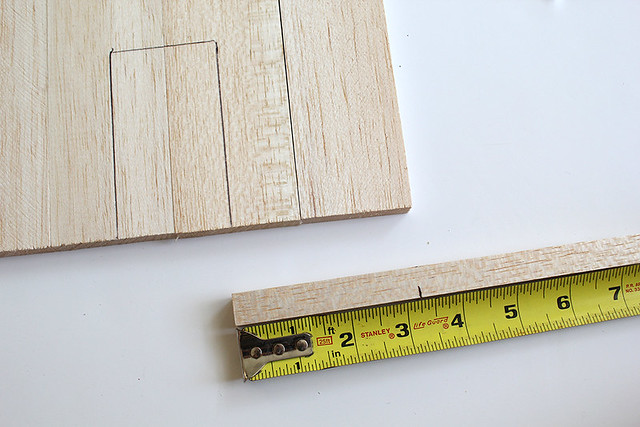
Alright, let's get started! Set your base together and plan out where you'd like your door and windows to be. Trace those onto your base and start measuring out your siding.
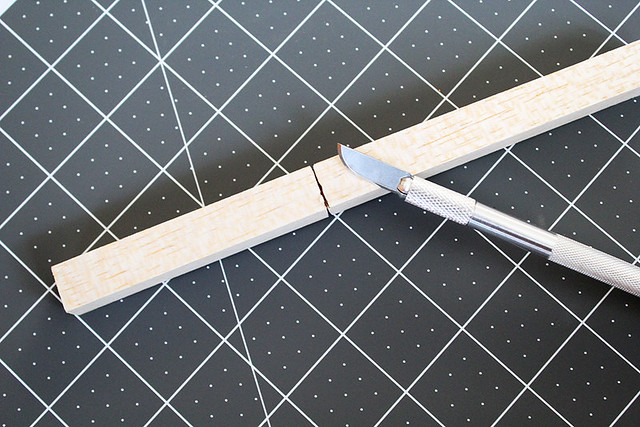
Mark your siding pieces and start the cutting process. I found it to go a little quicker when I would measure and mark a bunch at a time and then just cut, cut, cut.
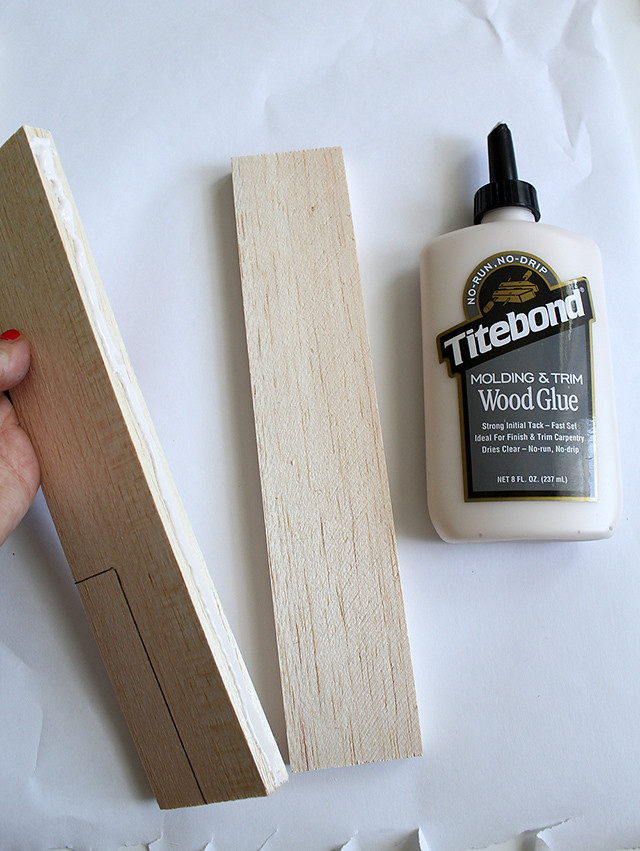
At this point, it's good to start the gluing process as well. Glue your base together and let that dry as you are cutting out your siding and windows.
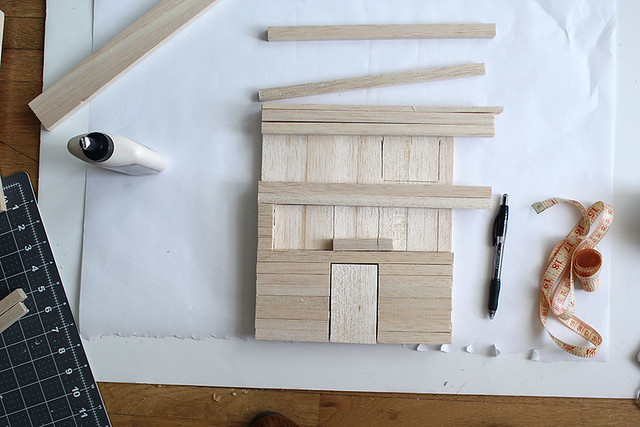
Here's a progress shot. Keep building and gluing until you reach the top!
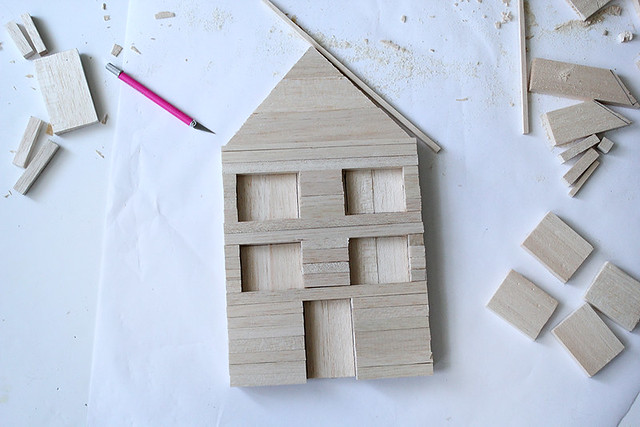
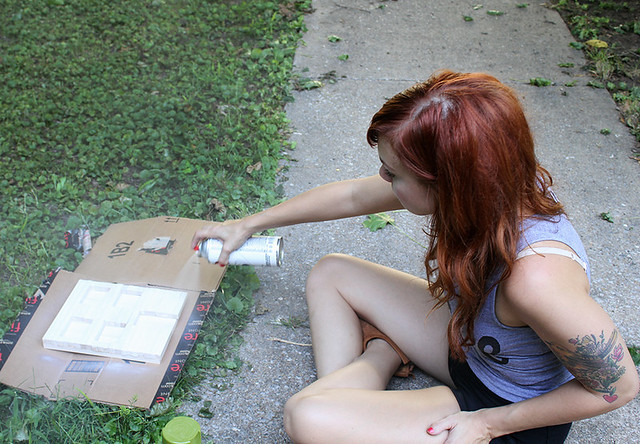
Once you reach the top and the glue has dried, sand the sides and top with fine grit sandpaper. If you are painting your house, now is the time to do so.
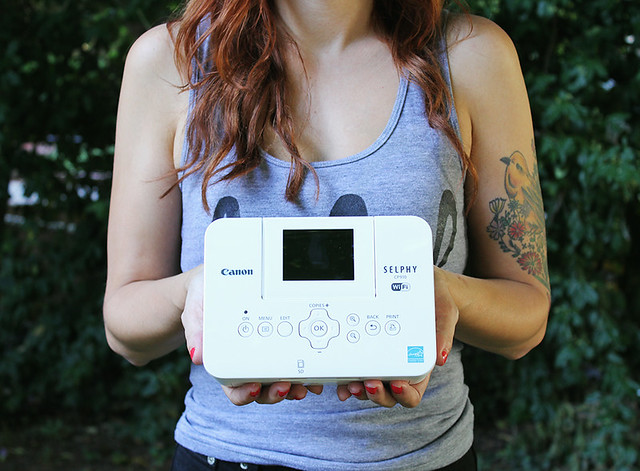
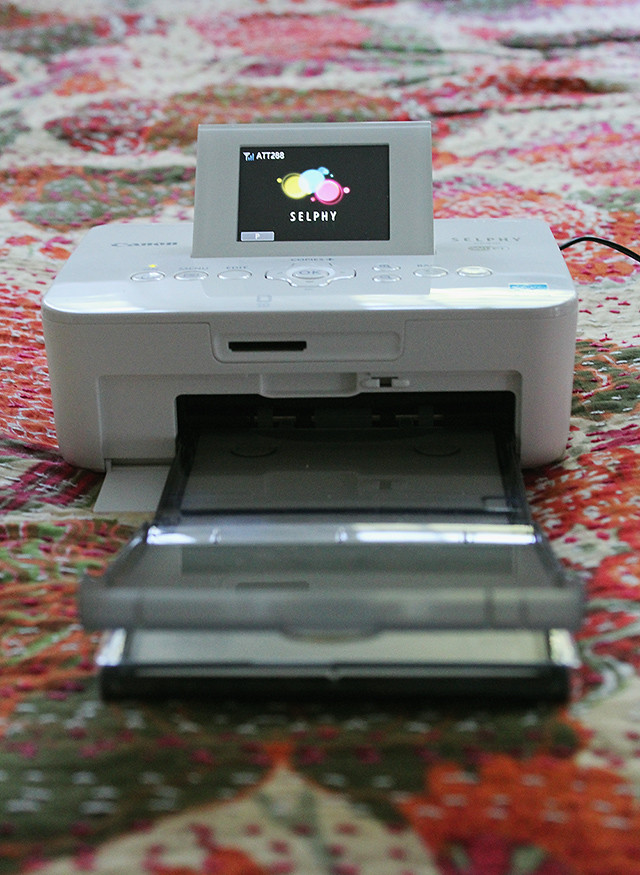
I needed pretty small pictures for this project (2.5"x 2" to be exact). This adorable little printer called SELPHY CP910 was the perfect solution. I didn't have to waste a giant piece of photo paper for four small pictures. Yay!
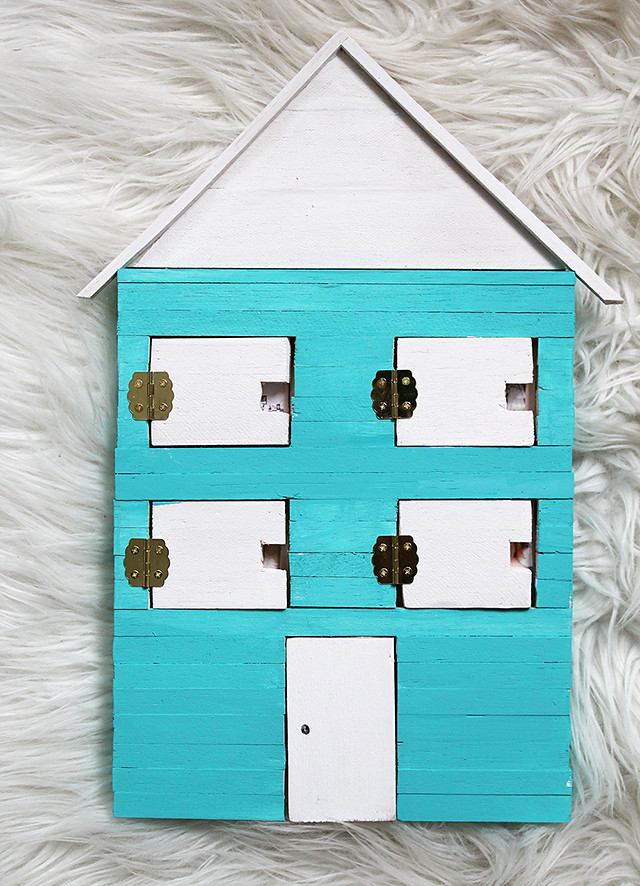
Once I got everything painted, I inserted the photos and added the hinges. The wood is so soft that the tiny screws went in with no problems.
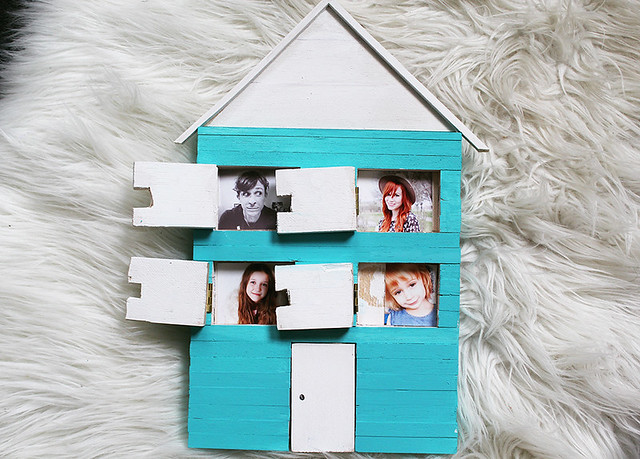
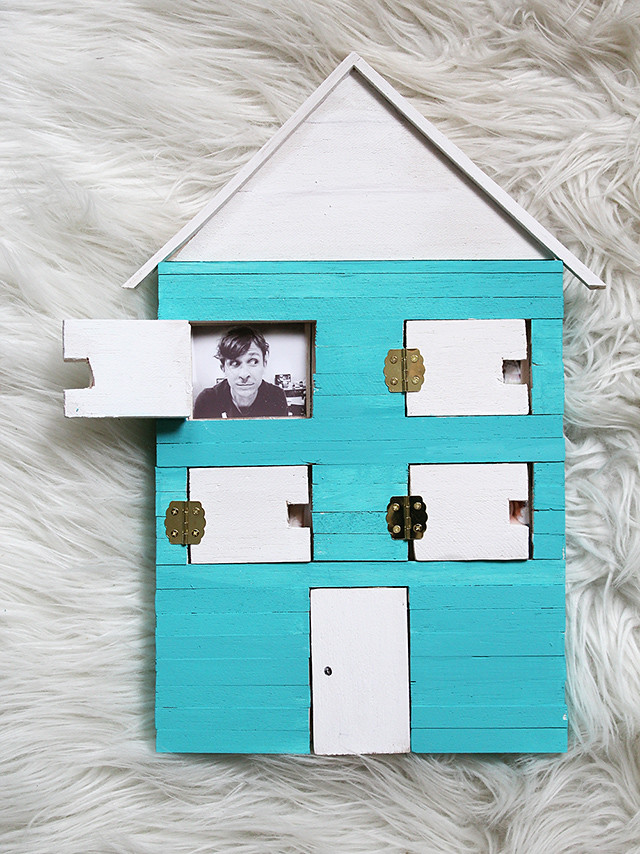
The nice part about something like this, is that it can grow with a little one. As my girls get older, the photos of them can be swapped out with more recent ones. It's a toy AND a keepsake, and I like that very much. :)


Wonderful idea, that hose is so cute! Hopefully I will be able to do this DIY ... it looks not too difficult, even for me :)
ReplyDeletexx from Bavaria/Germany, Rena
www.dressedwithsoul.com
Well isn't this cute!!!
ReplyDeleteToo cute for words.
ReplyDelete/ Avy
http://MyMotherFuckedMickJagger.blogspot.com
♥
I love this! My son adores puzzles with the hinged doors, so this would be perfect. What a great idea!
ReplyDeleteOh wow, this is just so cute, and so thoughtful too! x
ReplyDeleteholljc.blogspot.co.uk
Oh my gosh! This may be my favorite tutorial I've seen on your site and ABMs ever. What an awesome present! I don't think I have the tools necessary to complete the project now, but definitely pinning this for a later time. Thanks for sharing!! :)
ReplyDelete-Madelyn
onebluebicycle.blogspot.com
so adorable!
ReplyDeletexxoo,
nikki
www.dream-in-neon.com
This is ADORABLE! I love the idea :)
ReplyDeleteAwe! This is so adorable! I would love to do this for my little sister who is only six; she would really like it.
ReplyDeletexoxo
Taylor
this is such a fun idea! I like that you can change the photos out :)
ReplyDeletethe ideal is very creative I like it
ReplyDeletehttp://www.zdress.com
Well that's lovely! I love how ridiculously versatile this is. I mean - use it for family, for little neices, cousins, just for fun - even as a photo frame of sorts for display.
ReplyDeleteWhat a sweet tutuorial.
What a cute idea! Can you share the dimensions for your house as a starting place?
ReplyDeleteVery cute project -Hanna Lei
ReplyDeleteFound this on craftgawer. Adorable. Your images are great.
ReplyDelete