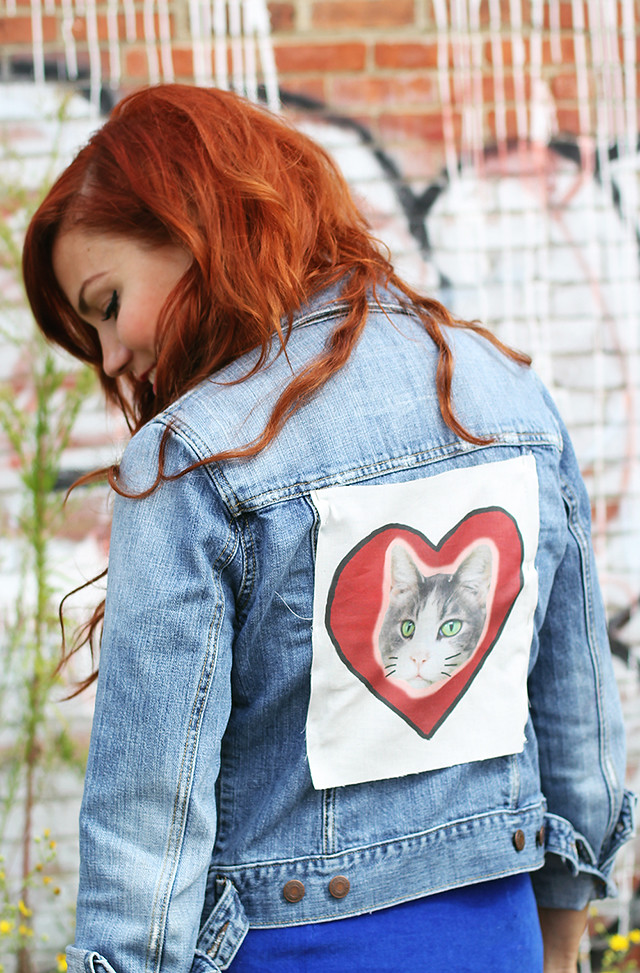
I love a good patch, I really do. They are so great for customizing jackets, bags, cardigans... basically anything you can sew a patch onto. I have a pretty good stash of patches that are almost too precious to stitch (or glue) onto anything. I know, I know... that probably seems ridiculous considering the whole point of a patch, but some are too pretty to go on just anything. I've been wanting to make my own for some time now, and after researching the different ways I could go about it, decided printing them at home on my printer sounded pretty interesting. So I tried it.
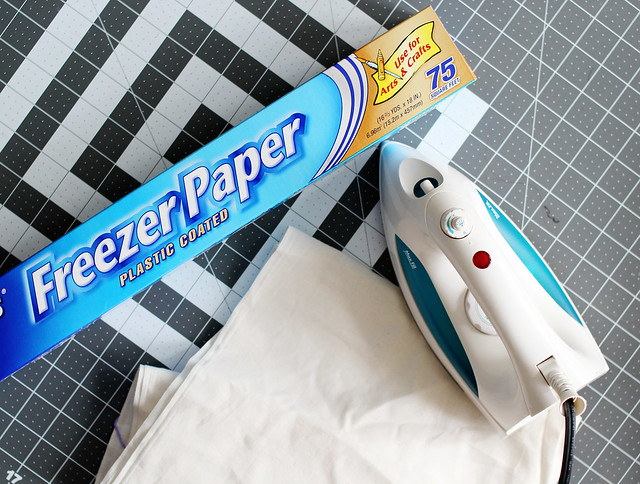
The supplies needed for this project are pretty minimal. You will need some cotton/canvas fabric, freezer paper, an iron, scissors, and an ink jet printer.
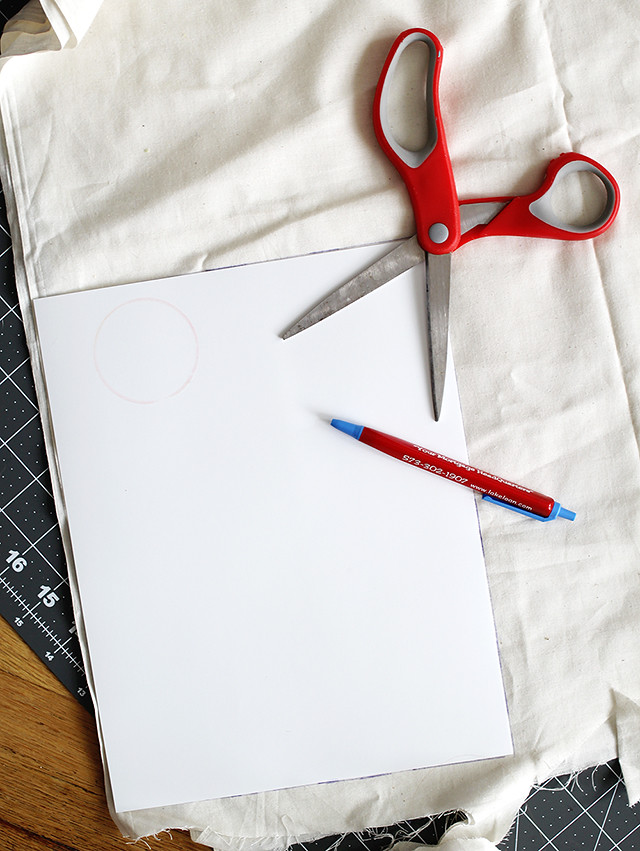
To begin, trace a piece of normal printer paper onto my fabric. This fabric has to run smoothly through a printer just like a piece of paper would, so be as precise as possible. Once the paper was traced, I cut along the lines and had an 8.5" x 11" piece of fabric.
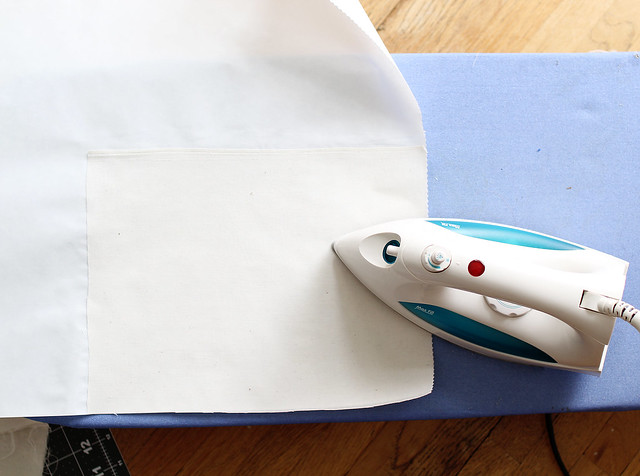
Next, I ironed the piece of fabric to the freezer paper. Make sure the shiny side of the freezer paper is up and you have the fabric on top of the paper. For some types of fabrics you may need to prep it with this product. I skipped this step and mine turned out great anyway.
Once the fabric was fully adhered to the freezer paper, I loaded my sheet into my printer's paper tray and sent the images I made in Photoshop to print! I was a little nervous about this step because, well, this is fabric and not paper, but the patches printed out wonderfully!
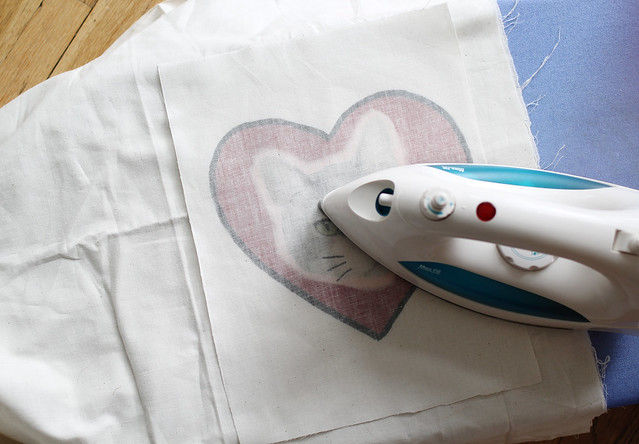
After I was done printing, I heat-set the images by placing them face down and pressing them again with the iron. (No steam when you do this.) Easy-peasy!
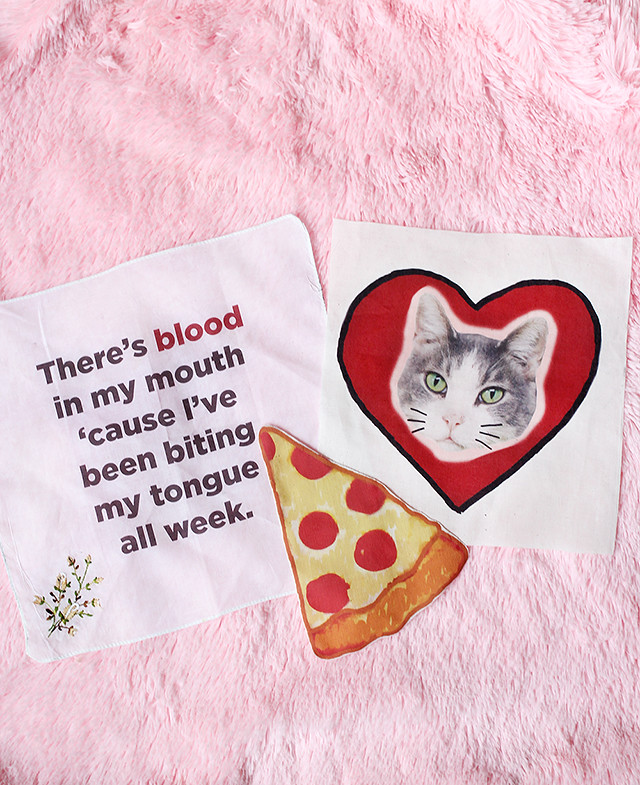
I made a lil pizza patch, a Google kitty patch, and printed some of my favorite lyrics onto a vintage scarf. Once I got started I kept dreaming of all the different images and phrases I could print for friends. I think I'll be making a lot of patches for gifts this holiday season!
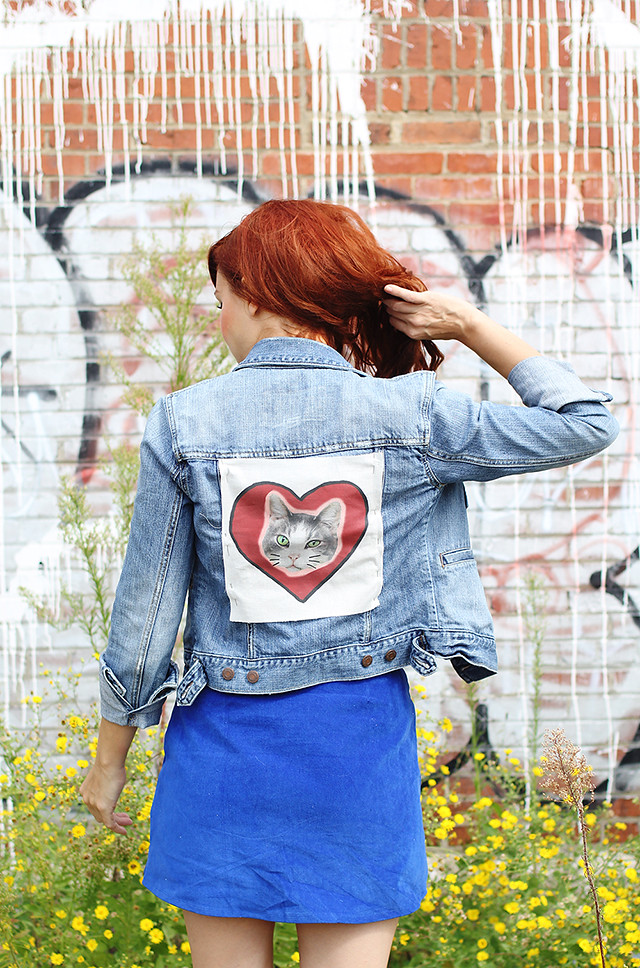
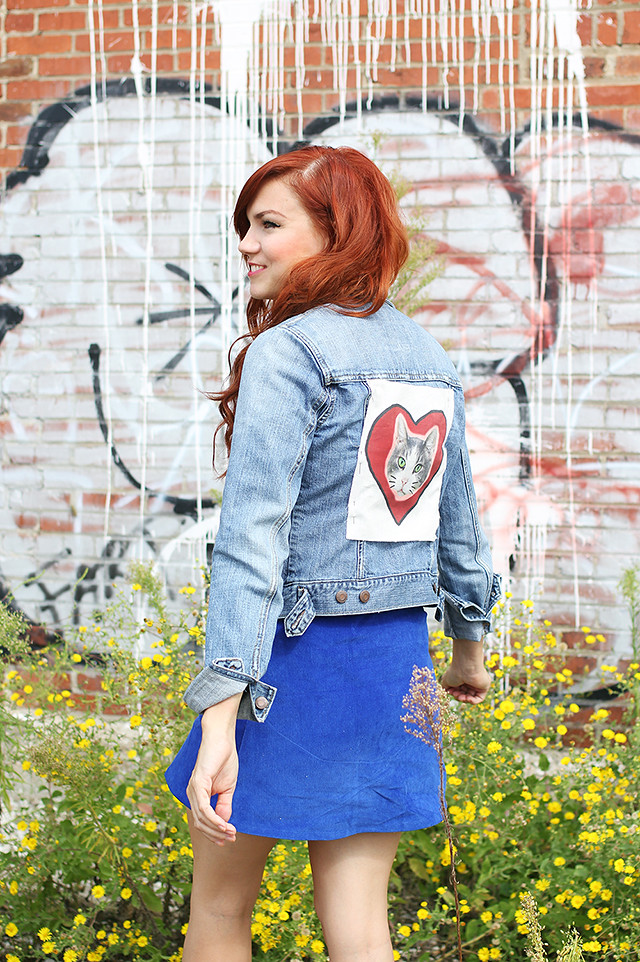
As you can see, I went straight for the Google patch on my jacket. I ended up having to print one for Hope and one for Poesy, so now we are matching in the most fun way!! xo.


Oh my gosh! I'm so excited to try this :) thanks for sharing the easy tutorial!
ReplyDeleteWhat a great and really easy idea! I love the cat :)
ReplyDeleteOh my gosh this is just incredible! x
ReplyDeleteholljc.blogspot.co.uk
Such a fun idea! Thanks for sharing, Katie :).
ReplyDeleteTamara
www.trulytamara.com
That's so cute -Hanna Lei
ReplyDeleteDid heat setting work? Have you tested it? I'm curious because I printed some little bags without heat setting since they weren't supposed to get wet. Tell a 2 year old that though. I want to make them again but washable.
ReplyDeleteSo cute! The quality looks really great on this! (Normally they don't come out this good.)
ReplyDeleteStephanieLists.com
will you do a post on how you curl your hair?! I absolutely love it, it's always so perfect
ReplyDeleteI met a bunch of people from Missouri at the Jenny Lewis concert in Omaha a few weeks back. You didn't happen to make it up for it, did you??? I thought of you briefly as I waited for it to start because I know you're a fan! :D
ReplyDeleteLove the Rilo Kiley one! What a great idea. :)
ReplyDeleteCool & Grungy Hack for an old jacket!
ReplyDeleteWinking Plum
Nice post! Love the jacket and your hair is amazing!
ReplyDeletehttp://www.MARTAsFASHIONdiary.com/
Did you take the freezer paper off before you did the heat set? I don't see that posted and I can't tell from the picture. When it is facing down, is the ink a risk, or can you set it on top of anything to set?
ReplyDelete